What is a Raspberry pi ?
The Raspberry Pi is a series of credit card-sized single-board computers. It can be used to build hardware along with software system . It essentially acts like a mini computer where we can install our programs and work on them pretty much like a regular computer . However the applications of Rpi is really diversifies from making robots to kiosks , surveillance system to remote control agents etc .
Yes the new model B+ is out yet I have an old B model and I am trying ot most of the things using it before making the investment of purchasing a new one .

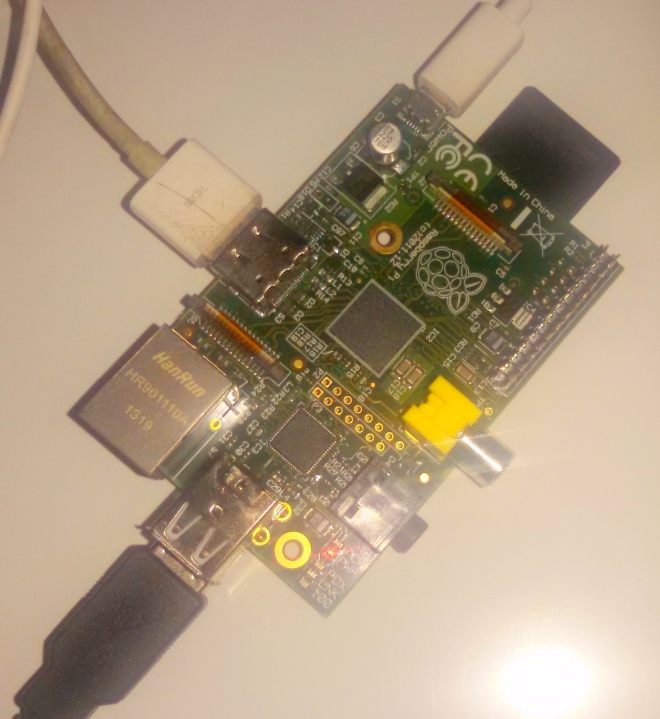
 (images from : http://www.adafruit.com/products/998)
Configuration :
- The design is based around a Broadcom BCM2835 SoC, which includes an ARM1176JZF-S 700 MHz processor, VideoCore IV GPU, and 512 Megabytes of RAM.
- The design does not include a built-in hard disk or solid-state drive, instead relying on an SD card for booting and long-term storage.
- This board is intended to run Linux kernel based operating systems.
- Generic USB keyboards and mice are compatible with it .
- It does not come with a real-time clock, so an OS must use a network time server, or ask the user for time information at boot time to get access to time and date info for file time and date stamping. However a real time clock (such as the DS1307) with battery backup can be easily added via the I2C interface.
Physical architecture :

Pin Model :

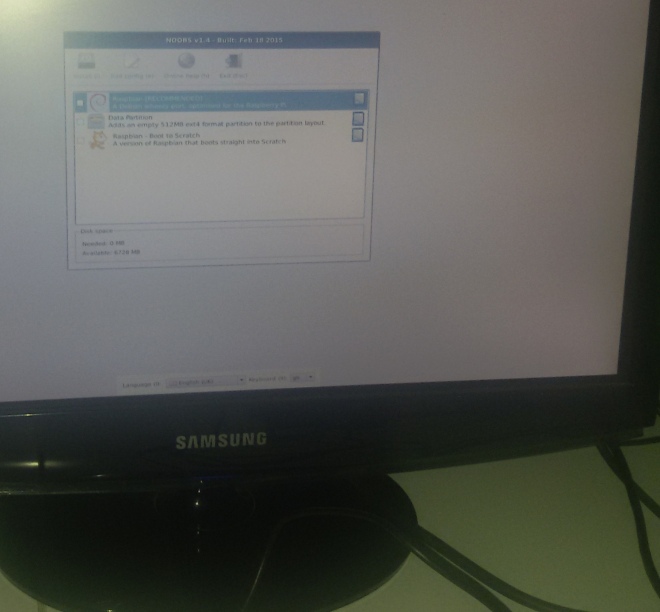
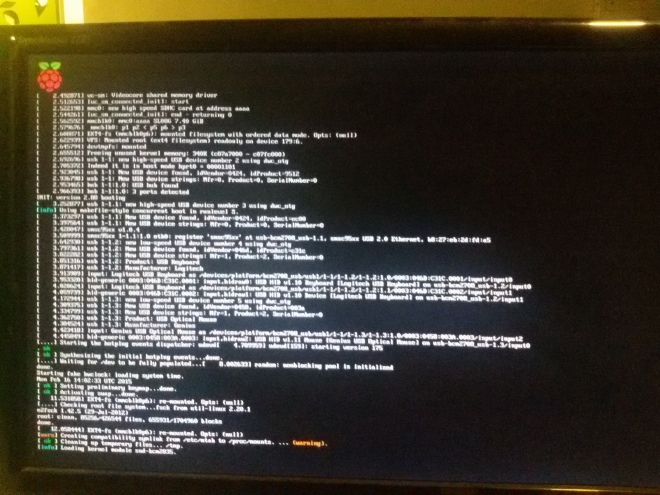
Rpi model B startup
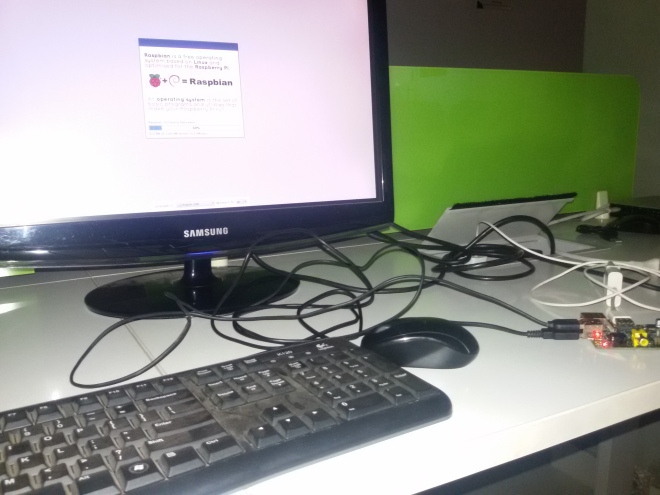
Requirements for boot
- Power supply
- HDMI cable to connect to HDMI tv or HDMI to VGA adapterto connect to monitor
- power charger ( micro USB same as phone )
- SD card upto 8 GB ( in case its a micro SD card then SD card adpater as well)
- monitor
- keyboard
- mouse
- internet through ethernet
- ethernet wire
Steps:


default password : raspberry


RPI model B to LED glow using timers in python
Aim :
First time booting Raspbian on Raspberry pi Model B . Connecting it to LED ( series with resistor ) and controlling the on -off process using timer logic written in python .
Requirements :
- Rs(RaspberryPi)
- Power supply
- Ethernet wire(3m)
- SDcard or micro SD card with adpater
- Breadboard
- LED(7)
- resistors(1k )(7)
- button
- breadboard wires
Steps :
1. Manual ON and OFF of LED on Rpi GPIO
To manually make the LED turn ON and OFF , make a serial connection of two GPIO pins with a LED and resistor ( shown in the picture )

- Open terminal and sudo su to :/home/pi#
- #echo25>/sys/class/gpio/export
- File manager -> /home/pi -> sys -> class ->gpio -> gpiochip0 -> device -> gpio ->gpio25 , Change directory to this location
- #cd /sys/class/gpio/gpiochip0/device/gpio/gpio25
- List all files , with gpio#ls
To give output to LED through the pin 25 :
- echo out>direction ( set this pin as output)
- To tuen ON the LED , write 1 to the value of pin echo 1> value
To take input through pin 24 through a button
- connect button to pin 24 of Rpi as earlier
- echo in >direction
- see the changes on pressing the button on cat value
2. GPIO control with WiringPi library
- Install git , sudo apt-get innstall git-core
- Get the sourcecode with :sudo git clone git://git.drogon.net/wiringpi
- cd wiringPi
- ./build
- $gpio -v
- $gpio readall
To turn ON or OFF the first LED wiring pin 0 , set the pin as an output -> gpio mode 0 out
- To turn ON LED -> $gpio write 0 1
- To turn OFF -> $gpio write 0 0
To read from a digital switch on wiringPin no
- $ gpio read 0
Applications:
1. Timer based control
Following are the steps to make and execute a LED control using timers in python .
Machine control through RPi via Mobile app on Internet
Aim :
Controlling a machine via Rpi hub connected to internet . Users can control machine behavior through a web page or mobile app .
Steps:
1. Install Raspbian wheezy ( details of installation are provided in the 1fisrt application on this page )
2. Get win32 Disk-manager 0.25 and dump into raspberry
3. Connect the Rpi via Ethernet wire to internet router . Find IP address of Rpi client by checking the router default console .
4. Connect the Rpi to remote machine
For Linux remote machine OS –Install tightVNC server
- ssh raspberrypi_username@ipaddress
- sudo apt-get updates
- sudo apt-get install tightvncserver
- During installation supply a username and password example , username pi , password altanai.
The viewer for VNC could be Remmina VNC viewer on linux
- Incoming VNC server .
- Enter username and password
For Windows remote machine OS –Install putty
- Enter Rpi_ip:port
- login as pi given password for example altanai
5. For the webpage
- Install a web server :sudo apt-get install apache2 php5 libapache2-mod-php5
- transfer the web page for machine control to Rpi inside /var/www
- index.phpo : <?php phpinfo(); ?>
- ctrl+ o to save , ctrl + x to exit
- change permission fr user pi : chown -R pi /var/www
- test the webpage at http://rpi_address
6. For the android app
7. To control real machine like fan , tubelight , washing machine , connect the output of Rpi to relay.
8. To control the machines from anywhere on the internet , this page need to be on public DNS . There fore host the website on public server like amazon Ec2 instance .

Github Repo for Rpi setup
https://github.com/altanai/Ramudroid/tree/master/robot_controller_rpi_setup
Github project page
http://altanai.github.io/Ramudroid/
Demo video
Ref :
- http://www.adafruit.com/products/998
- http://www.raspberrypi.org/
- http://www.instructables.com/id/Simple-and-intuitive-web-interface-for-your-Raspbe/

